
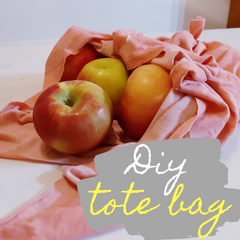
How To Make A No Sew T-Shirt Reusable Bag
Going green is more than just the trendy thing to do. Making choices that lower our carbon footprint and work toward a positive impact on the environment are necessary for the care of the planet and its inhabitants. It just happens that some steps to be eco-friendlier are fashionable! This no sew T-shirt reusable bag is a great alternative to using plastic bags. It is easy to make and takes only a t-shirt and about 10 minutes. Best of all, it can be customized to fit your style, while keeping up with your busy everyday life!
Materials Needed:
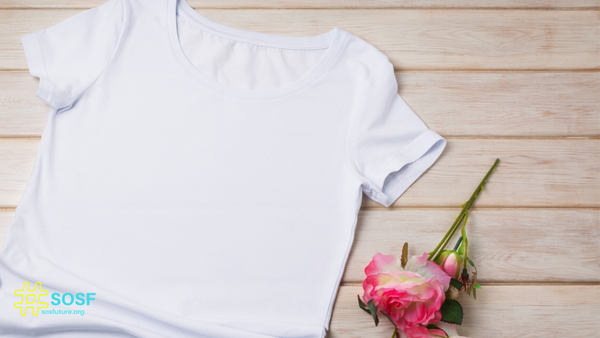
- A T-shirt- The larger the shirt and thicker the fabric the more it can carry.
- Scissors- A sharp pair of scissors or a set of fabric scissors are best
- Pencil or washable marker- (optional) These are helpful to measure and mark where to cut.
- Embellishments- (optional) Patches, fabric markers, and pins can make the tote reflect your style even more!
Step 1:
 Lay the old t-shirt out flat on a hard surface. The sleeves will be cut off to create straps. This step is important to not cut the straps too thin as the bag will not last as long with thin straps. I measured my straps to be 3” thick and put a small mark there with a pencil. The pencil marks will wash out, but the sleeves will not grow back if they are cut too thin.
Step 2:
 If you mark exactly where you want to cut the sleeves off, you can cut right along that line. It may be easier to fold the t-shirt in half and cut both layers of the sleeve off at once. This of course requires a sharp pair of scissors to cut through two layers of fabric. If the t-shirt fabric is too thick it is no problem to cut each sleeve off one at a time, then you can simply fold over the cut sleeve and use that at as guide for the second cutting (shown in the photo). A bowl or round edge can also be used as a cutting guide.
Step 3:
 The neckline needs to be cut off next. By turning the shirt inside out you can mark exactly where you would like to cut the neckline. This step is a little more tedious than the sleeves because there is no guide to tell if it is even. As before, if you can fold the shirt in half long ways and cut a half semi-circle, that is an effective strategy to ensure the cut is even on both sides. If you’d like, you can turn the shirt inside out and trace the outline of a bowl before cutting. Feel free to make any adjustments or trims after the sleeves and neck of the shirt are cut off.
Step 4:
 Start with the T-shirt turned inside out. Eye the size of the shirt in comparison to how big you want the bag to be. The bag will likely stretch a bit when it is full, especially if the fabric is thinner.
Step 5:
 Cut the bottom of the shirt about 3 inches longer than your desired length of the bag. The extra three inches are where you will cut the fringe to tie later. To cut the fringe, start by laying the shirt flat with the front and back sides lined up. At the bottom of the shirt cut slits about 1 inch apart through both layers of the fabric. It is important that the cuts are aligned for the next step.
Step 6:
 Start tying the strips together by matching up the front and back layers. Double knot each strip to ensure a stronger hold. Tie the knots across the entire bottom of the bag.
Step 7:
 Now that the bottom of the bag is tied together, you will still see holes in the areas that were not tied. This is why it is important to go back through and tie the ends on each side of the holes. If you see any areas that still have a hole, simply take the ends of the strips around the hole and tie them to seal it up.
Step 8:
 The last step is to turn the bag right side out and inspect it for any needed adjustments or trimmings.
 Don’t worry about getting this bag dirty. You can throw it in the wash just like it was its old T-shirt self!
With your new tote in hand you can frequent the farmer’s markets in style and have a fun DIY project to share!
TO HELP US CONTINUE WITH OUR MISSION YOU CAN:
Thank you, thank you, thank you, we could not do it without you!
DONATE :

BUY ONE OF ECO-FRIENDLY PRODUCTS:

Watch the video:
YOU MAY ALSO LIKE:

DIY HOW TO MAKE A REUSABLE DIFFUSER
DIY ALL NATURAL TOILET BOWL CLEANER
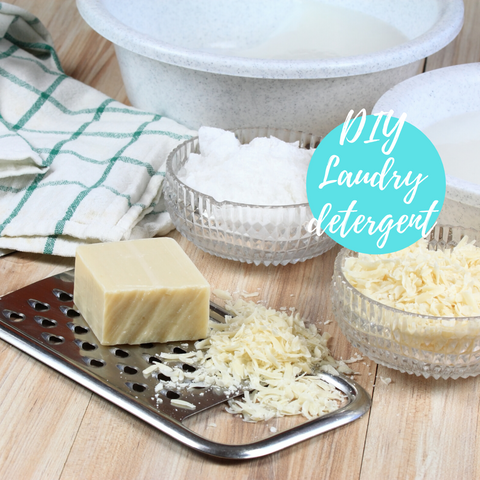
DIY ECO-FRIENDLY LAUNDRY DETERGENT
DIY ECO FRIENDLY DETERGENT
HOW TO MAKE A NO SEW T-SHIRT REUSABLE BAG
10 DIY RECYCLE GIFT BAGS
DIY ECO-FRIENDLY EARRINGS
5 DIY RECYCLED AND ECO FRIENDLY FATHER’S CARD